
Introduction
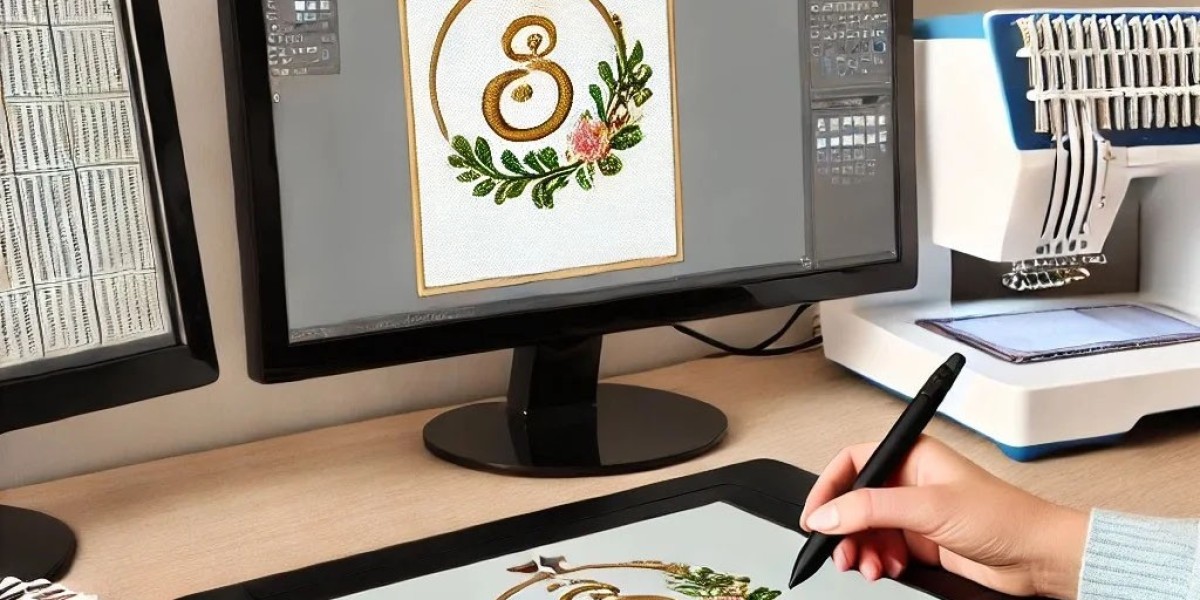
Preparing a business logo for professional embroidery takes more than simply converting an image into a machine file. Barudan-Ready Business Logo Preparation involves cleaning the artwork, selecting suitable stitch types, adjusting density, planning stitch direction, and creating a file that works smoothly with a Barudan embroidery machine. A properly prepared logo can produce cleaner details, better registration, and a more professional finished appearance. Whether you are embroidering uniforms, caps, jackets, workwear, or promotional apparel, taking time to prepare the artwork correctly can make a noticeable difference in the final result.
Why Business Logo Preparation Matters
A digital logo may look perfect on a computer screen but behave differently when converted into stitches. Embroidery machines work with physical thread, fabric, needles, and stabilizers, so the digitized design must account for these factors.
Poor preparation can lead to problems such as:
- Uneven stitch coverage
- Excessive thread density
- Small details disappearing
- Lettering becoming difficult to read
- Thread breaks
- Fabric puckering
- Poor registration
- Unwanted gaps between design elements
Proper preparation helps reduce these issues before the design reaches the machine.
Start With High-Quality Artwork
The quality of the original artwork plays an important role in the digitizing process. A clean vector logo is usually easier to work with because its shapes, outlines, and proportions remain clear at different sizes.
However, many businesses only have low-resolution JPG or PNG files. These can still be used, but the artwork may need cleaning or redrawing before digitizing.
Before starting, check the logo for:
- Clear outlines
- Correct proportions
- Readable text
- Accurate brand colors
- Separate design elements
- Unwanted backgrounds or artifacts
Removing unnecessary details at this stage can make the digitizing process much easier.
Simplify Artwork Where Necessary
Not every detail in a printed logo will translate well into embroidery. Very thin lines, tiny text, complex gradients, and extremely small shapes can become difficult to reproduce with thread.
The goal is not to change the identity of the logo. Instead, the artwork should be adapted for embroidery.
For example, a thin printed outline may need to become slightly wider so it can stitch properly. Tiny text may also require adjustment or enlargement to remain readable after stitching.
A good digitizer knows which details should remain and which elements need practical embroidery adjustments.
Choose the Right Stitch Types
Different parts of a business logo require different stitch structures. Choosing the appropriate stitch type helps control the appearance and durability of the finished design.
Running Stitches
Running stitches work well for fine outlines, narrow details, and small decorative elements. They use relatively few stitches and can create clean lines when applied correctly.
Satin Stitches
Satin stitches are commonly used for lettering, borders, and narrow filled areas. They can create a smooth, slightly raised appearance, making them useful for many business logos.
Fill Stitches
Fill stitches cover larger areas with rows of thread. They are useful for broad shapes and backgrounds but require careful density and direction settings to avoid unnecessary bulk.
Selecting stitch types according to the shape and size of each logo element helps create a balanced design.
Pay Attention to Stitch Density
Stitch density refers to how closely stitches are placed within a particular area. Too little density can leave gaps or produce weak coverage. Too much density can create excessive thread buildup and may cause puckering or stiffness.
The correct density depends on several factors, including:
- Fabric type
- Design size
- Thread type
- Stitch type
- Underlay
- Intended application
A logo embroidered on a lightweight polo shirt may need different settings from one stitched on a heavy jacket.
Plan Stitch Direction Carefully
Stitch direction affects both appearance and stability. Changing the direction of stitches between different design sections can create visual contrast and help control fabric movement.
For example, one section of a logo might use a diagonal stitch angle while another uses a different direction. This can make the design look more dimensional and help prevent large areas from appearing flat.
Good stitch planning also reduces unnecessary jumps and helps create smoother transitions between elements.
Use Appropriate Underlay
Underlay stitches sit beneath the visible stitches and provide a foundation for the design. They help stabilize the fabric, support top stitches, and improve coverage.
The right underlay depends on the fabric, design size, and stitch structure. A digitizer may use different underlay approaches for lettering, satin borders, or larger fill areas.
Without suitable underlay, stitches can sink into fabric or fail to maintain their intended shape.
Consider Pull Compensation
When embroidery stitches are applied to fabric, they can pull certain parts of the design inward. This is known as pull distortion.
Pull compensation helps account for this movement during digitizing. It can be especially important when working with small lettering, satin columns, and shapes that need accurate registration.
The amount required depends on the fabric and design. Using too much compensation can distort the logo, while too little may create visible gaps.
Prepare Small Text With Care
Business logos often contain company names, slogans, dates, or other small lettering. Text can be one of the most challenging parts of logo embroidery.
Very small letters may lose their openings and become difficult to read once stitched. A digitizer may need to adjust letter size, stitch structure, spacing, or thickness to make the wording embroidery-friendly.
It is often better to simplify small lettering than to force every tiny detail into the design.
Account for the Fabric
The same logo can stitch differently on different materials. Fabric behavior affects density, underlay, pull compensation, and overall stitch performance.
Common applications include:
- Cotton shirts
- Polo shirts
- Denim jackets
- Work uniforms
- Caps
- Sweatshirts
- Bags
- Promotional apparel
A professional digitizing approach considers the intended material rather than treating every logo the same way.
Optimize the Design for Barudan Machines
Barudan embroidery machines are designed for professional production, but the machine still needs a properly structured embroidery file.
The design should have logical sequencing and efficient stitch paths. Unnecessary jumps, excessive trims, and poorly planned transitions can slow production and increase the chance of operational problems.
Proper sequencing can also improve registration because design elements are stitched in an order that helps control fabric movement.
Select the Correct Embroidery Format
The final file must be saved in a format compatible with the specific Barudan machine and workflow being used. The exact format can depend on the machine model, software, and production setup.
Before exporting the design, confirm the required file format and machine specifications.
It is also useful to keep an editable master version of the design. This makes future adjustments easier if the logo needs to be resized, modified for another fabric, or adapted for a different embroidery application.
Test the Design Before Production
A digital preview cannot tell you everything about how a logo will look after stitching. A physical sew-out is one of the most valuable steps in the preparation process.
Test the design on a similar fabric and stabilizer combination before starting a large production run.
During the test, check:
- Overall logo shape
- Letter readability
- Stitch coverage
- Thread tension
- Registration
- Density
- Fabric distortion
- Thread breaks
- Unwanted gaps
- Overall appearance
If something looks wrong, adjust the digitized file rather than trying to solve every issue at the machine.
Common Mistakes to Avoid
Several mistakes can reduce the quality of a Barudan embroidery logo.
One common mistake is using artwork without cleaning it first. Another is applying the same density settings to every part of a design. Excessive stitch counts can also create unnecessary bulk.
Other problems include poor sequencing, insufficient underlay, overly small lettering, incorrect pull compensation, and skipping the physical test sew-out.
Taking a little extra time during preparation can prevent expensive production problems later.
Work With the Intended Size
A logo designed for a large jacket back may not work perfectly when reduced for a small cap or shirt chest.
Changing the size changes the relationship between stitches, details, lettering, and spacing. For this reason, resizing an existing embroidery file without checking its stitch structure can sometimes produce poor results.
When the size changes significantly, the design may need to be re-digitized or carefully adjusted.
Benefits of Professional Logo Preparation
Professional preparation can help businesses achieve more consistent embroidery across different products. A properly digitized logo is easier to reproduce and can maintain important brand details while working within the physical limitations of embroidery.
Good preparation can also contribute to:
- Cleaner stitching
- Better detail retention
- Improved readability
- More consistent production
- Reduced thread problems
- Better fabric handling
- Efficient machine operation
The result is a logo that looks more polished and works more reliably during embroidery production.
Conclusion
Business logo embroidery requires careful planning from the original artwork through the final machine file. Barudan-Ready Business Logo Preparation includes artwork cleanup, stitch selection, density control, stitch direction, underlay, pull compensation, sequencing, format selection, and physical testing. Each step contributes to how the final embroidered logo looks and performs.
Whether you are preparing a small chest logo or a large corporate design, the key is to create an embroidery file based on the realities of thread and fabric rather than relying only on a digital preview. With thoughtful preparation and proper testing, business logos can be converted into dependable designs suitable for professional Barudan embroidery production.